


© Jamie Foster, 2005-present
|
7.5": Huskie Part 1: From Start to Running
Summer 2006
We've pulled together here various pics/narrative focusing on the construction of the Huskie. Links are provided along the way to various suppliers. Also, there's now a Yahoo Group on Huskie building: Huskie_Switcher. Click on the dates for other activites (besides Huskie building) on those days.
June 24, 2006
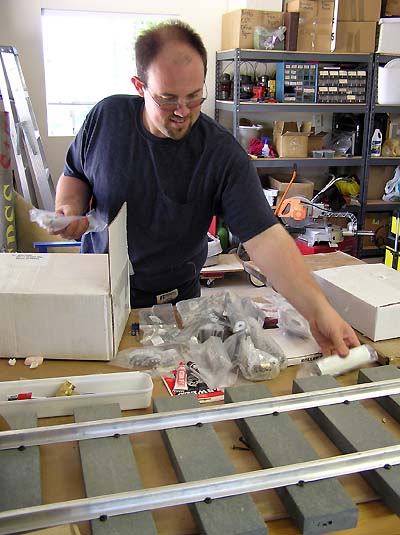
Trevor begins emptying the Huskie (electric locomotive kit) boxes from Eaton Engineering.
"Congratulations on the purchase of your new Huskie locomotive kit!"...
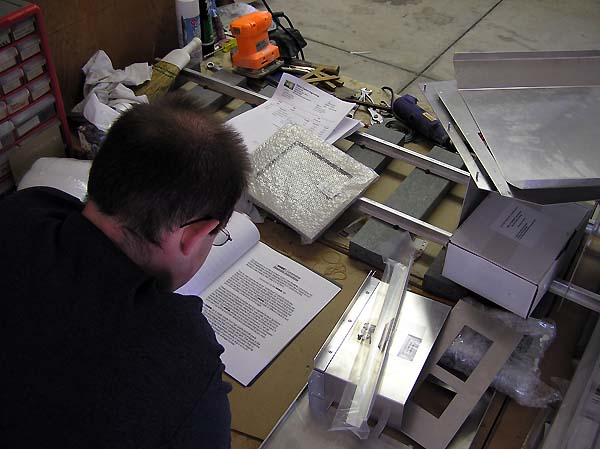
Note the plans already on the wall .
Getting started... If there is no scribed line on the base plate, be very careful that you scribe it correctly yourself. We were off by the thickness of the side plate and had to make new axles (the originals were now too short).
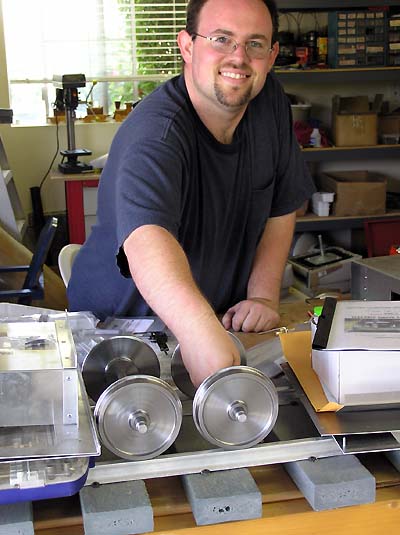
July 1, 2006
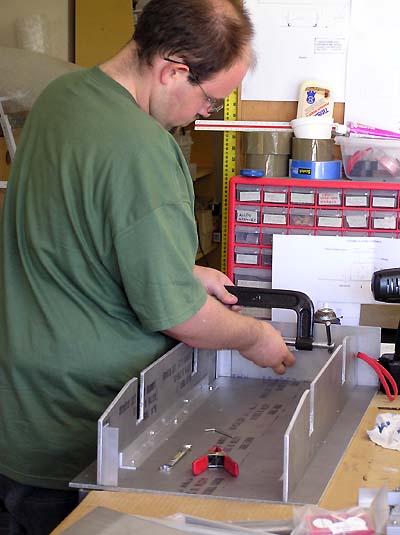
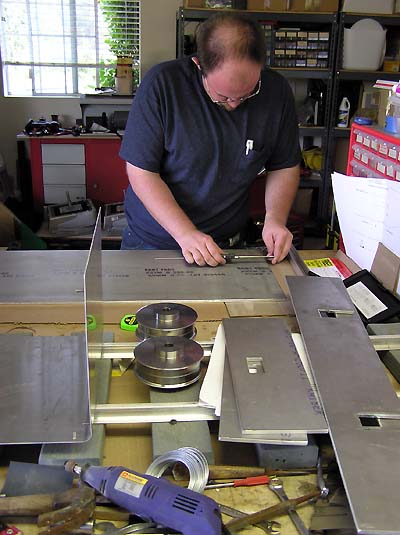
Trevor put in the entire day on the Huskie kit. Note the L-bracket running the length of the Huskie holding the base and sides together. That "L" was actually in the way of some latter placement of parts/holes, so be careful and adjust as necessary.

The undercarriage takes shape.
Thread tapping.
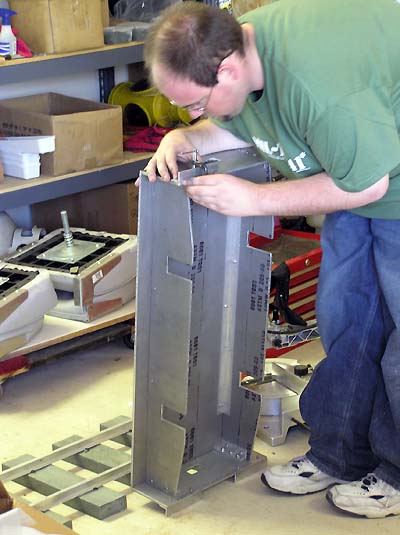
July 2, 2006
Trevor plows on with the Huskie kit.
Wow!
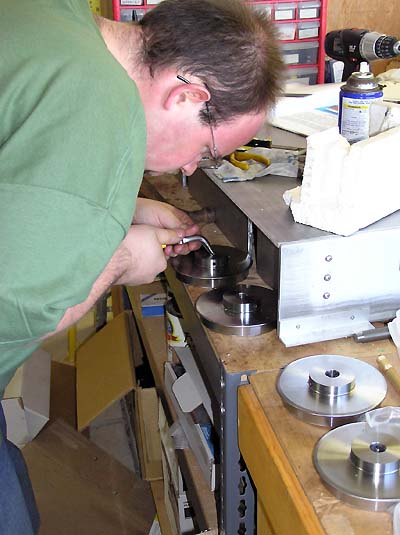
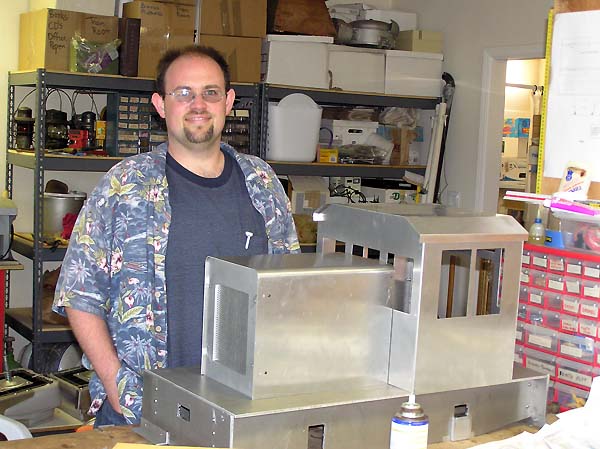
July 8, 2006
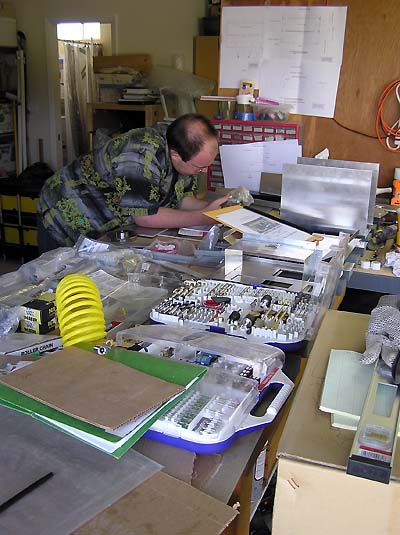
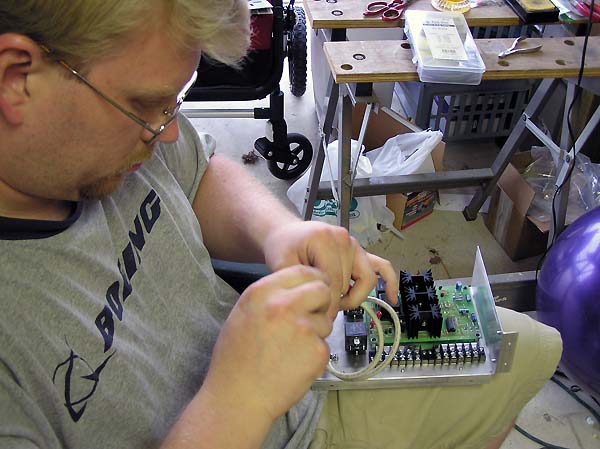
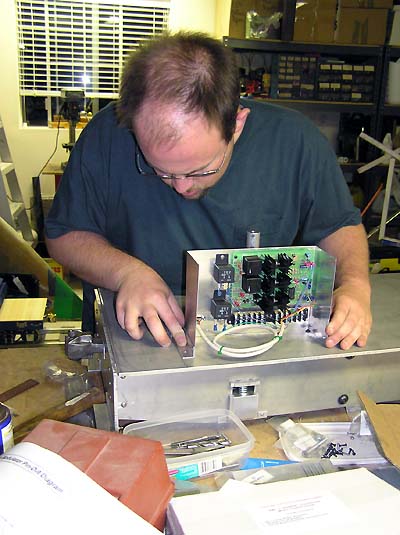
Later in the evening, Jon works on the controller box of the Huskie kit.

While Trevor works on the drive train.
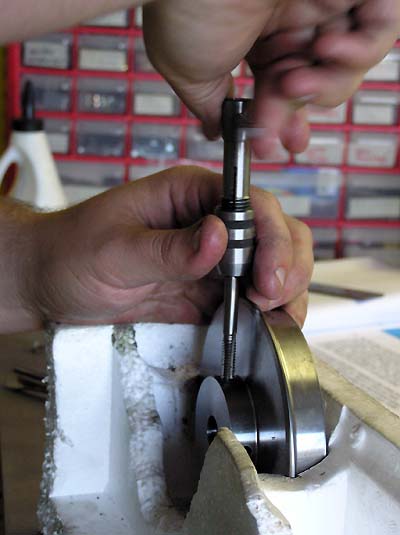
July 9, 2006
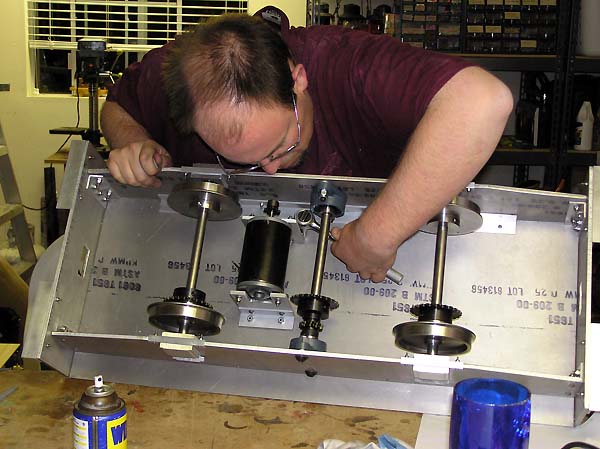
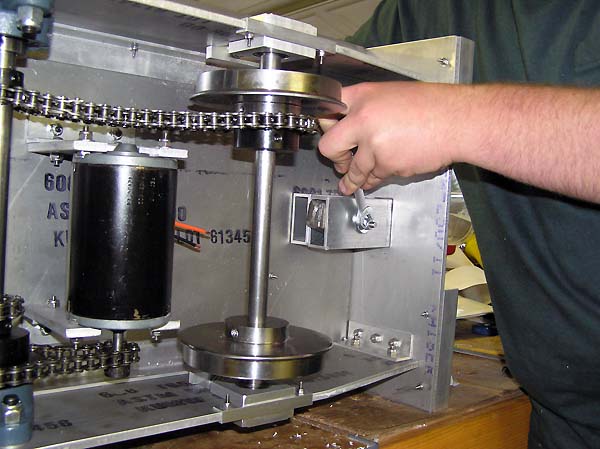
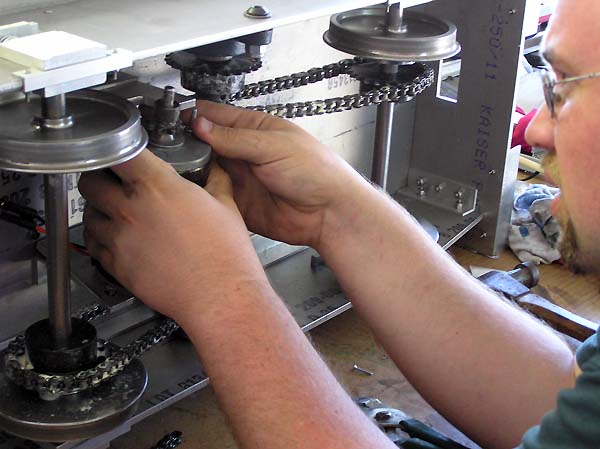
Trevor in the midst of installing the Huskie's drive train.
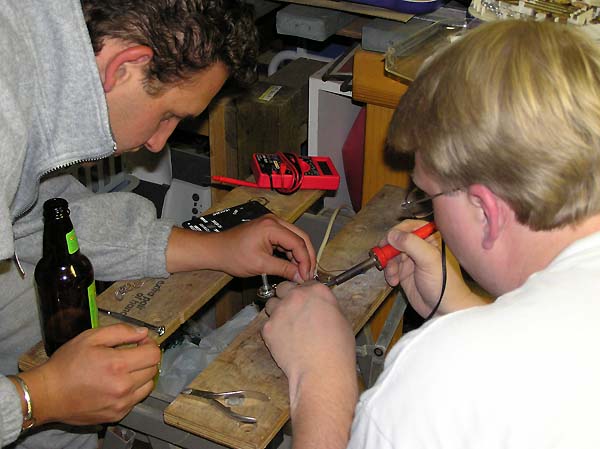
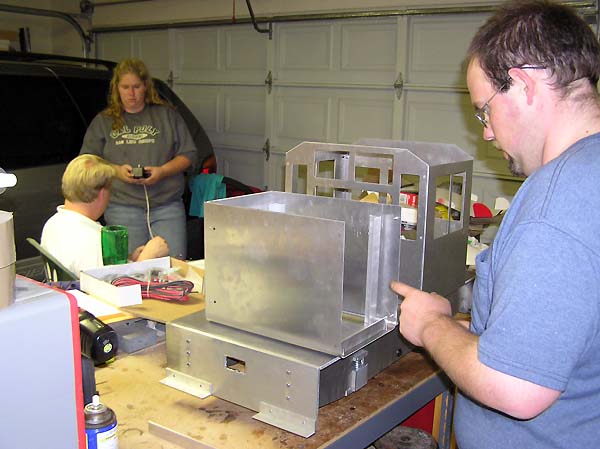
While Jon, with Matt's assistance, works the Huskie's electronics.

The Huskie is taking shape!
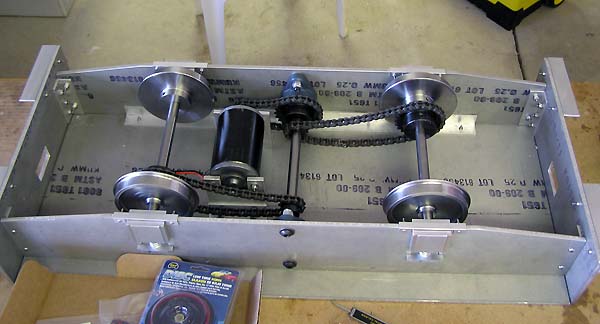
Drive train is in, man.
July 13, 2006
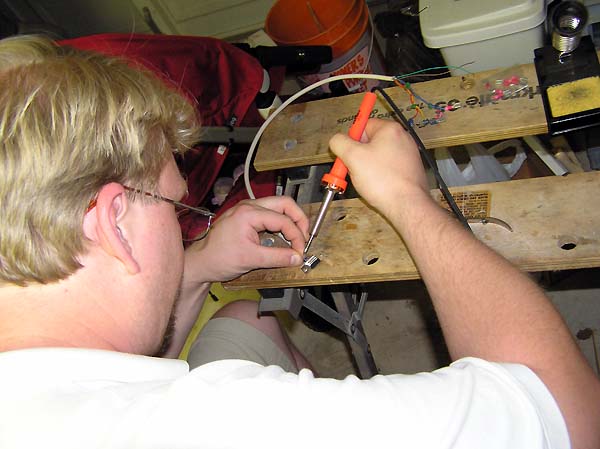
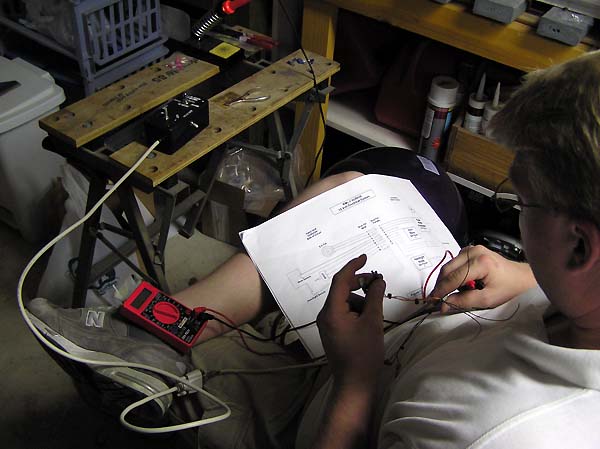
Jon continues with the Huskie electronics.
Jennifer helps Jon with a continuity test while Trevor starts lining up cab and hood parts.
We did make some slight changes/clarifications to the wiring diagram re. the controller box. Be careful how you wire up the 4, 5, and 9 lines (light and horn circuits).
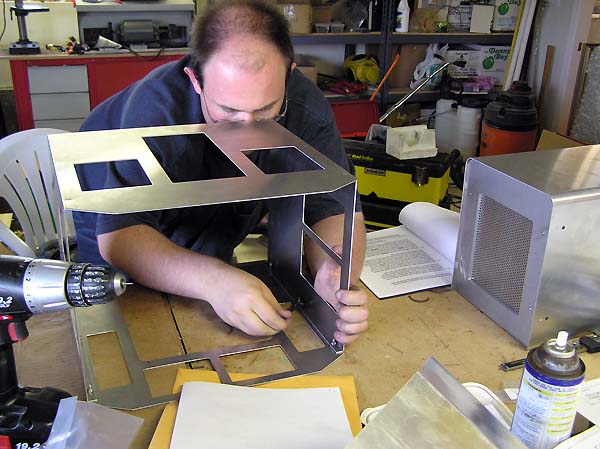
July 14, 2006

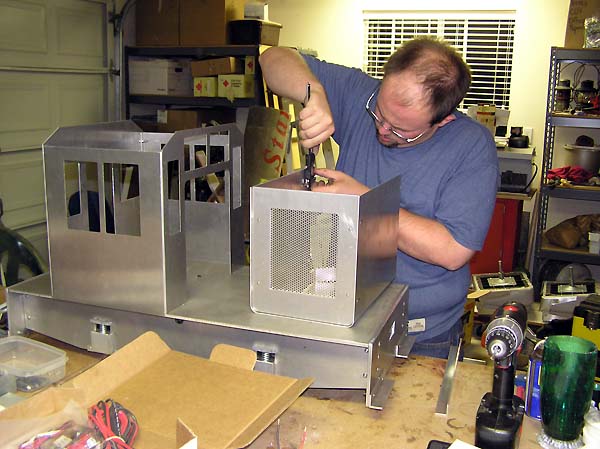
Trevor starts fitting the electronics casing into the cab.
Jon continues with wiring.
Coupler installation.
July 15, 2006
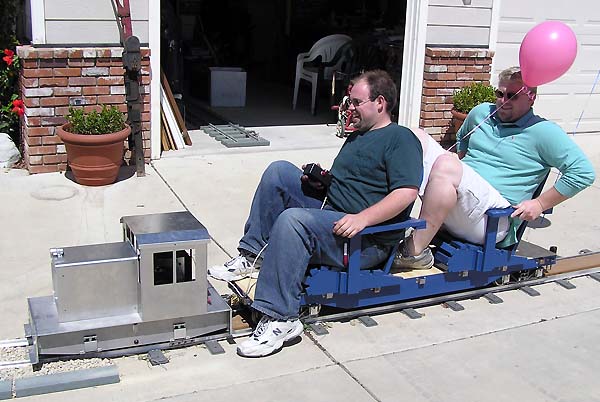
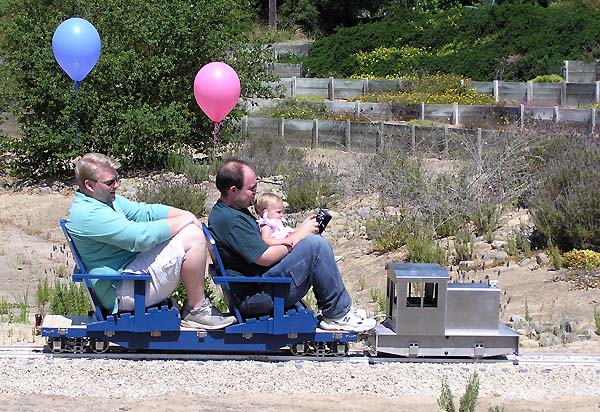
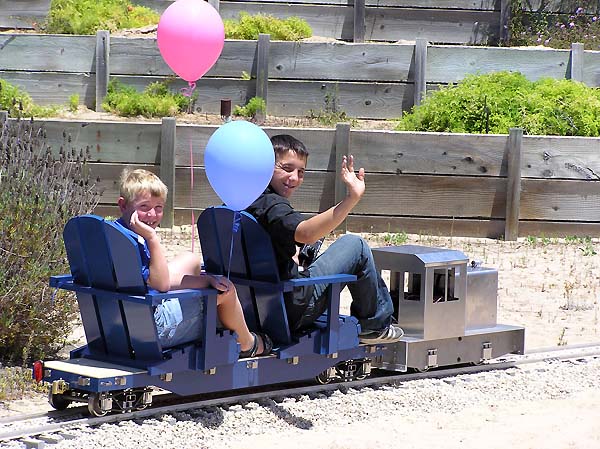
The Huskie debuts at Serafina's first birthday party...
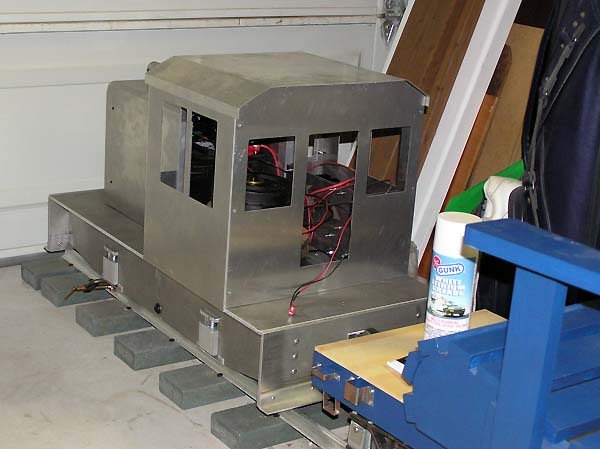
This is how we first saw the Huskie this morning. Trevor and Jon had run it about 3:00am, and it did great! The small plug coming out onto the "back deck" is a Deans connector. We took its mate and wired it back on itself so that it acted as an "on key" when plugged in. We also used Shultze connectors when higher current was needed, e.g. power leads to the motor. Additionally, we used "silicon wire" for high current leads (300-strand, 12-gauge, very flexible, easy to work with wire). Sources: cheapbatterypacks.com/, tanicpacks.com/.
Trevor and Jon give it a final test run.
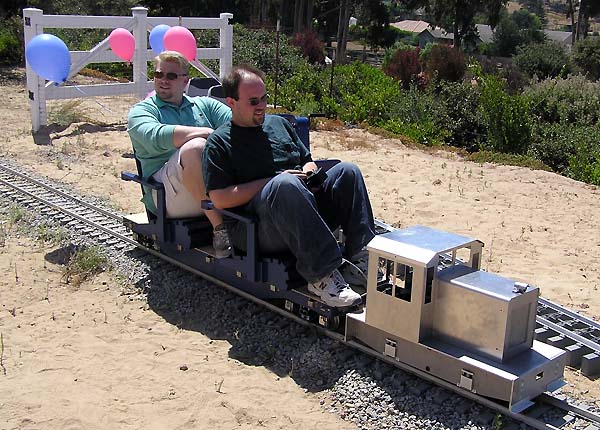
And an engineering lesson for Serafina!
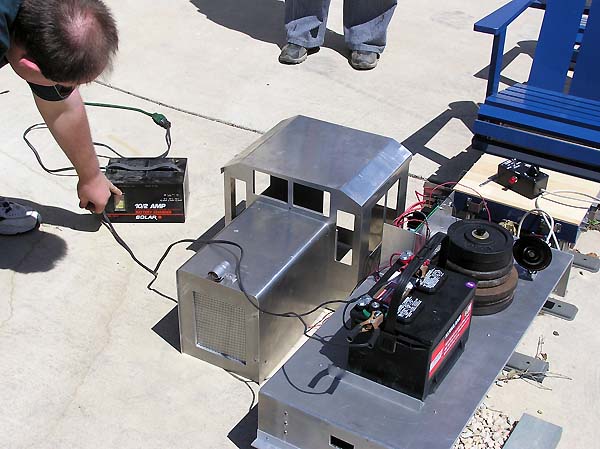
Then a top-off charge before the fun begins...
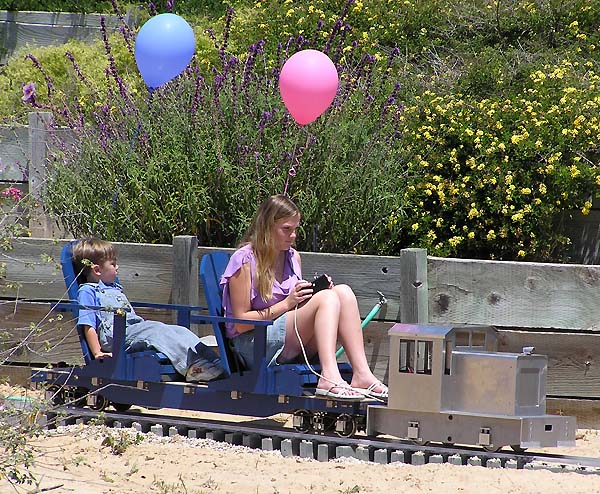
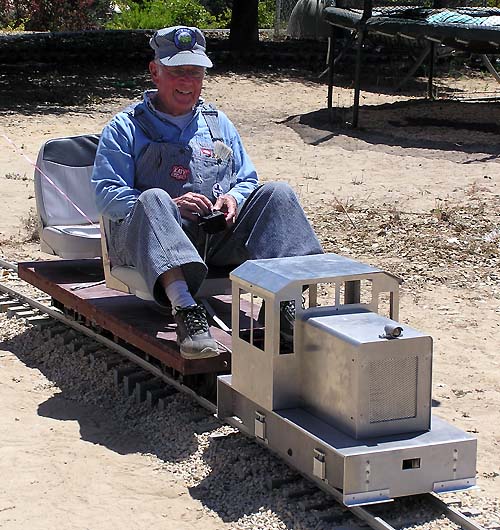
Bill at the controls.
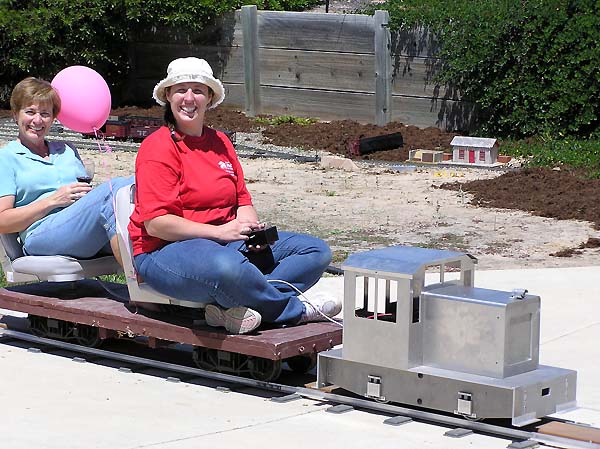
Tracy at the controls!
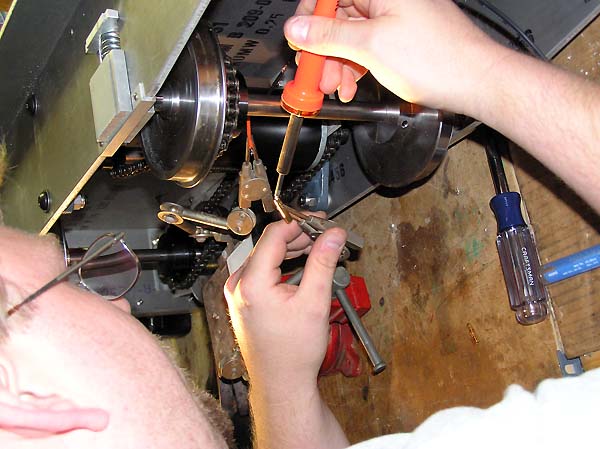
At the very end of the 4 hours of continuous running, the sprocket wheel on the motor shaft drifted outward and bent the motor shaft. But never fear, Trevor straightened it out and it was running again. He repositioned the gear on the shaft as close to the motor housing as possible (without causing interference) to give the shortest possible moment arm to the sprocket, and created a flat spot on the shaft for the set-screw. Even though the sprocket came pre-installed on the motor shaft, we learned the hard way it was not on good enough. Follow what the directions say, but assume that if you didn't Loctite it yourself, then it hasn't been done.
Next steps... pullaway-connect for the controller box so if the engine "gets away", it shuts off (we did have a runaway today!). We're also going to install a quick connect somewhere for charging. I think we're going to try powder coating ourselves, too.
Here's another idea... There's a nifty little meter that would easily install, called the Watt's Up Meter". It's an ammeter, voltmeter, wattmeter, Amp-hour and Watt-hour meter in one.
[Disclaimer: I've got no connection to any of the products or sellers mentioned here other than being a customer.]
| G-scale |
7.5" Gauge |
Home |
News |
Links |
Gift Shop |
About |
|
