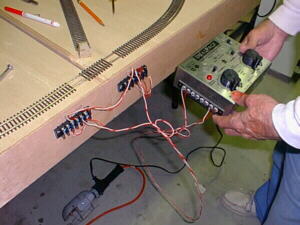
 Pictured here on top of the platform is where the single main line connects between the two halves of the layout. Seen on the sides of the two platform halves are the barrier strips where the connections are made between the halves and with the dual-control power pack.
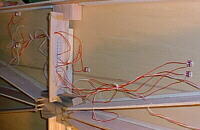 This image shows the wiring for the various blocks running to a central "power strip" beneath the platform. Also visible are pieces of the eight "T"-beams providing the structural integrity for each of the platform halves.
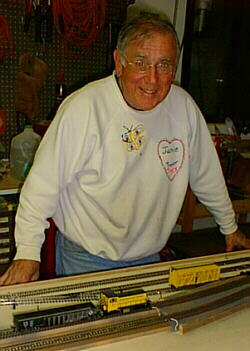 The sugar beet ramps are in place now, and the locomotive and black gondola sit on one of the two ramps. The yellow boxcar sits on a siding at a lower elevation.
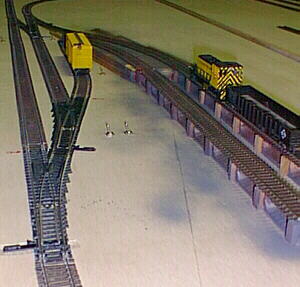 In this view of the sugar mill unloading ramps, the open chutes are visible beneath the rails. The sugar beets are unloaded from the "drop-bottom" gondolas, through the rails, and deflected into troughs which will be located between the railroad lines.
 Pictured here are the sugar beet ramps in an earlier state. Much to the builder's delight, leftover pieces of 1" boards used to construct the structural "T"-beams were easily converted into ramp rail supports. The routing down the middle lengthwise was already done, and the slanted chutes were easily cut out by hand with a dremel.
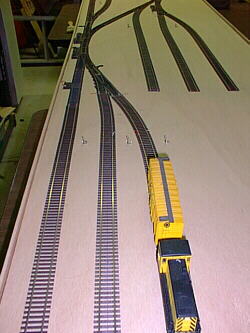 This is the yard side of the platform. Note the small toggle switches located on the platform (a row of three is just on the far side of the boxcar), each next to the block it controls. They are all shown in the ON position which is toward the outside of the platform.
Previous  Next Next[Home] [Synopsis] [Train Layout (HO)] [Schedule: 2002, 2003] [For Teachers] [What's New] [Site Overview] |